The BEST $200 3D Printer | Monoprice Mini
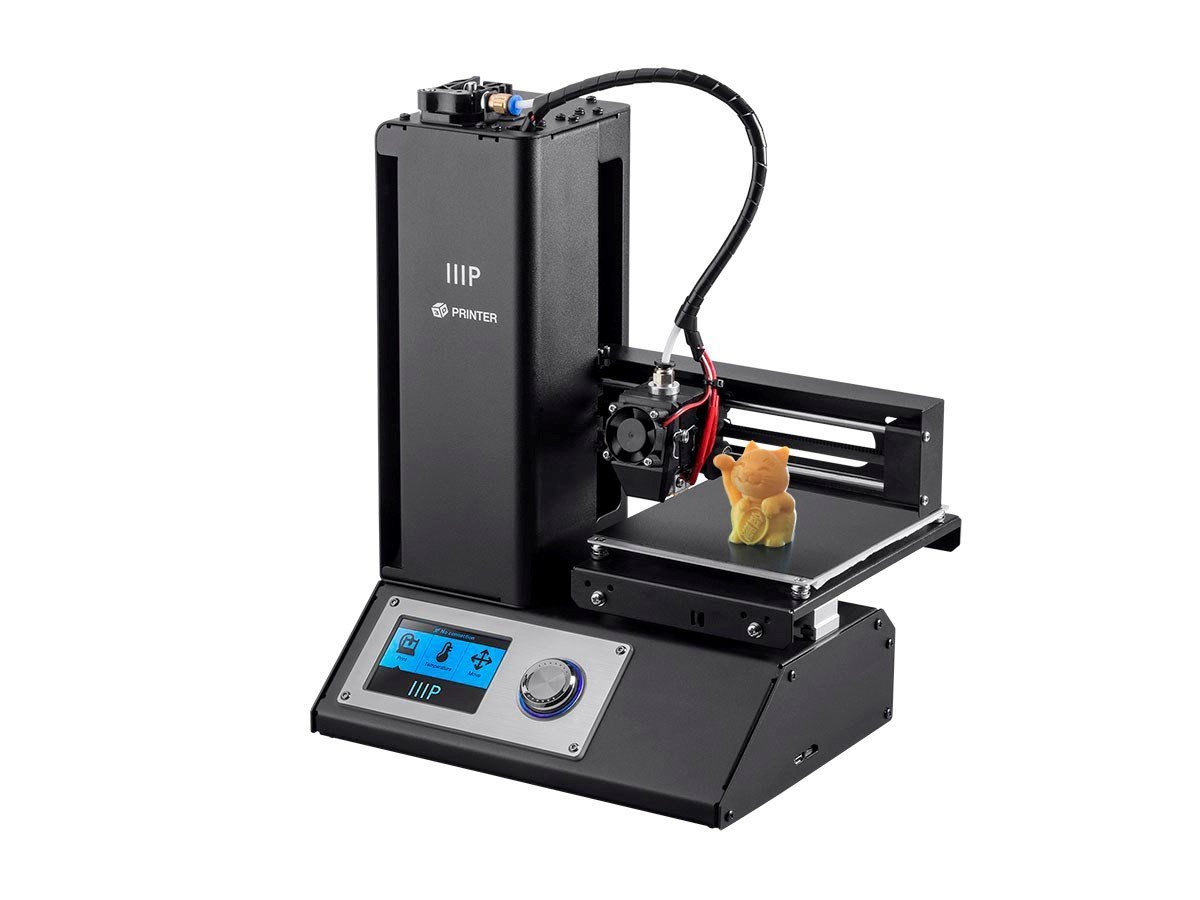
The Monoprice Mini 3D printer can print high-quality functional assemblies right out of the box.
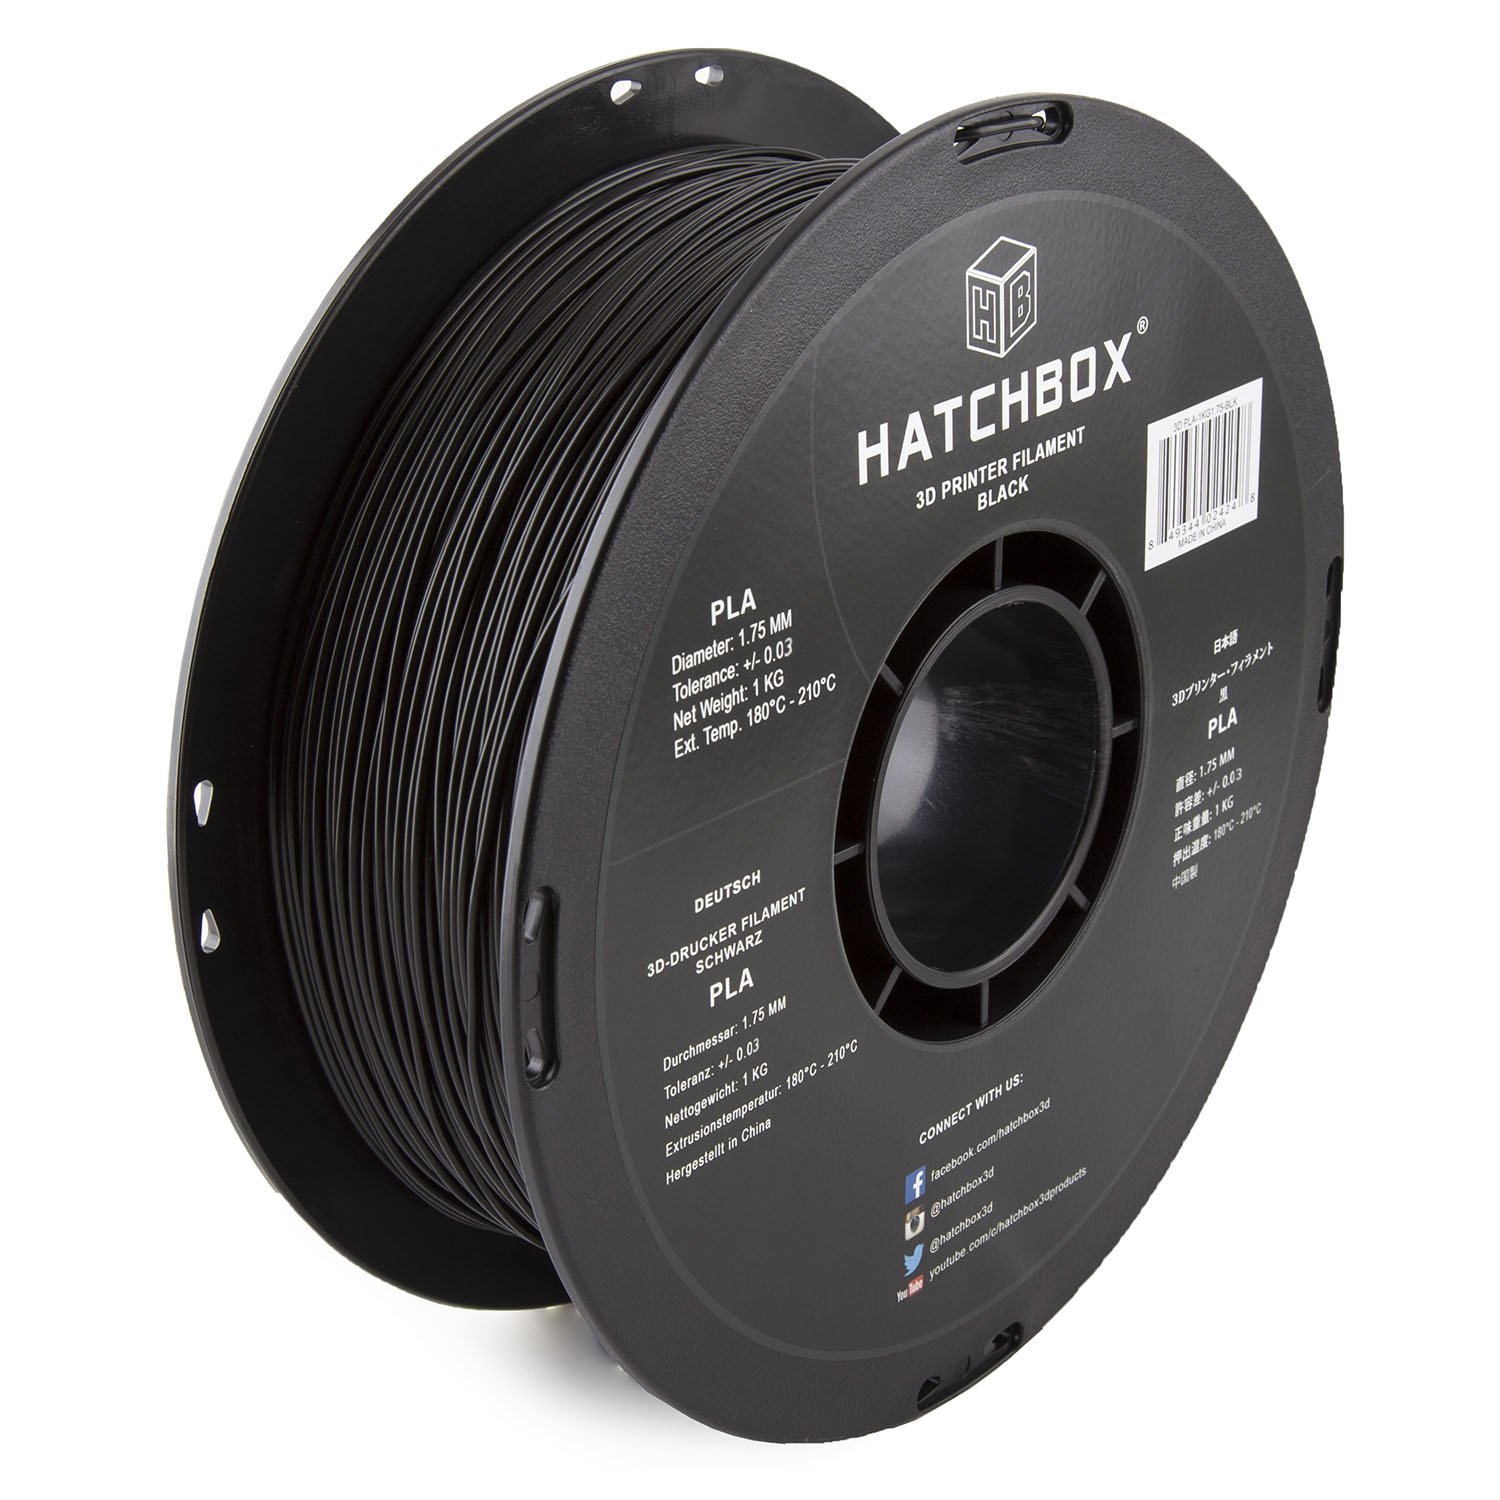
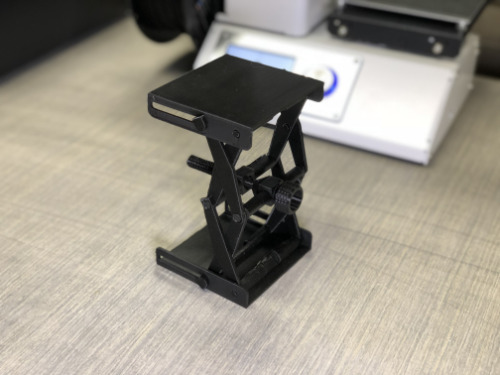
We have been looking for a new 3D printer for a couple months. Just something small for projects around the office and after watching a few youtube videos we settled on the Monoprice Mini priced right at $200. I really like the way the product was portrayed by the Mike and Lauren YouTube Channel in this VIDEO. So we ordering the printer and a roll of PLA. Links to both the printer and material on Amazon are below. Much to our surprise, the 3D printer was easy to setup and use. In just about an hour we had Cura installed with all the settings for our Monoprice Mini. Our first print was a platform or pallet jack from Thingiverse.com. Link to the Model HERE. It printed flawlessly with the recommended settings we found on the web. Check out our step by step setup guide below for our settings. This model prints with no supports required and as a complete assembly.
Setting Up your Monoprice Mini IIIP 3D Printer:
- Unbox, slide on the print roll holder and remove shipping tape.
- Level print bed by sending the unit to home by using the control knob (bummer it is not touchscreen but for $200 no complaints). Slide a standard piece of printer paper between the extrusion head and the bed and there should be a very light resistance. Manually move the head to each corner of the printer bed and repeat. Use the included allen wrench to raise or lower the bed. Clockwise lowers the bed and counterclockwise raised the bed. 1/4 turn at a time to adjust. Ours was not very level and was adjusted before the first print.
- Download Cura Slicing software. We run Macs and the micro SD card did not include Cura for OSX so we found it HERE. I am not sure who runs mpselectmini.com but this site is the single greatest resource for maintaining, modifying, and using your Monoprice Mini IIIP Printer. We downloaded version 3.1.0.
- In Cura create a custom printer and use THESE settings.
- Drop in your downloaded model (it will be oriented correctly on its end) and save to a file. You can use the printers Wifi if you have set it up with the MP3DPrinterWifi Mobile App or USB Cable. We opted for an even more primitive option, micro sd card.
- Use your thumb to apply pressure to the material tensioner and feed your PLA into the printer until it stops. If you use a brim for your first print your first object will not suffer from missing material as it takes 30 seconds or so to get the material running out the extruder nozzle. It is a little tricky to cut away to make your jack move but life is tough and trying to figure out where to cut will keep you entertained for 20 minutes.